
5 Expert Tips for a Beautiful Architectural Rendering
Make no mistake about it, creating the perfect architectural rendering can be time consuming and frustrating. The amount of detail, materials, colors, and textures that go into creating a beautiful rendering can quickly become overwhelming. With that said, a few simple tips can help take your architectural rendering to the next level so you can effectively communicate your designs and architectural talents to your clients. When done right, renderings will set you apart from your competition and demonstrate your capabilities. The FluidRay team has curated our 5 top expert tips to help you create beautiful architectural renderings.

1. Create Believable Surroundings
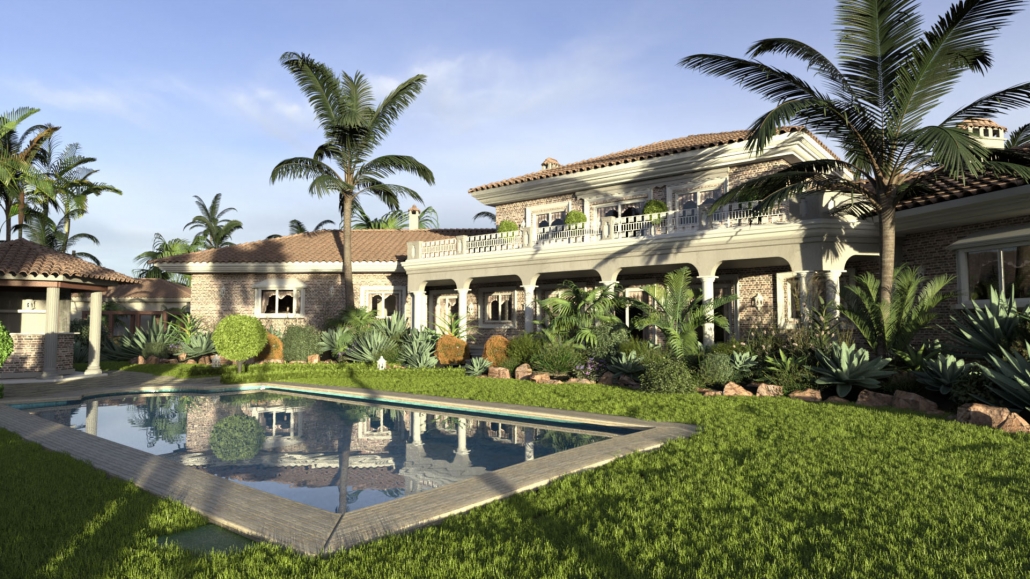
To create a realistic architectural rendering, include believable surroundings to help set the feeling of the image. Selecting an appropriate background will draw the viewer into the rendering and help them experience the details of the final architectural design. Consider details like sky, ground, natural bodies of water, trees, and other nearby structures and aim for simple, yet accurate, details. Use natural colors and minimize complicated scenes for an architectural rendering that will impress viewers and highlight your architectural design abilities.
2. Illuminate, Illuminate, Illuminate
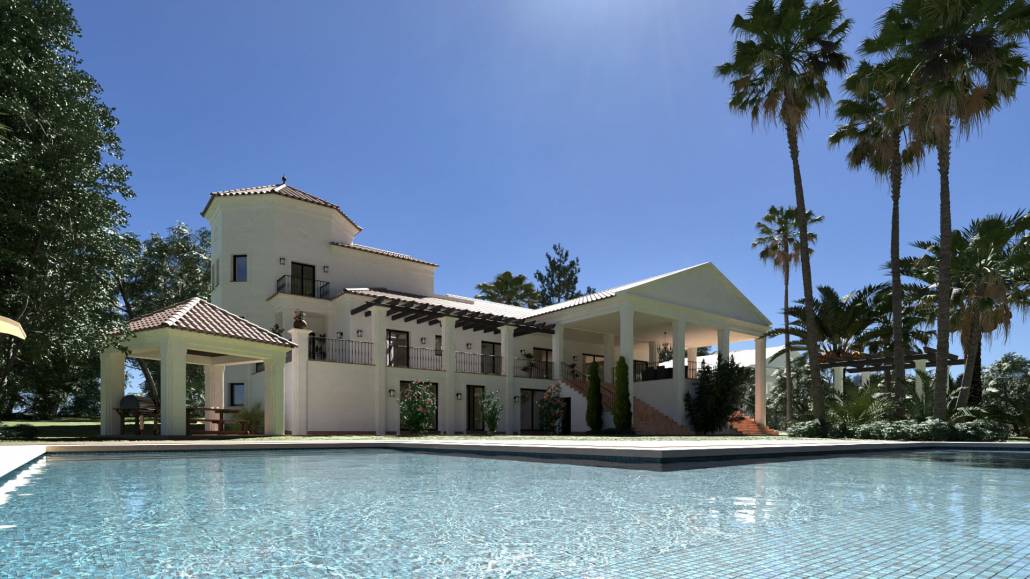
One of the most important aspects of an architectural rendering is the lighting. You’ll want to pay attention to both environmental lighting and artificial lighting. Creating these lighting effects in FluidRay is fast, easy, and produces beautiful results that will impress your clients! Get this right and your rendering is realistic and beautiful. Done incorrectly though, your rendering is awkward. Luckily, with a little attention, illuminating your architectural rendering properly is easy. In fact, this short architectural rendering tutorial explains how to set lighting in your FluidRay rendering. Note, that while this tutorial starts with a Rhino 3d model, FluidRay is compatible with most 3d modeling software applications.

3. Take Advantage of Caustics
Caustics are the flickers of light that come off water and are a significant contributor to lighting in the real world. In rendering, these flickers are often quite tricky to perfect. Designers will often avoid the need for caustics by leaving water out of their renderings. Including caustics though makes a rendering that much more believable. FluidRay handles caustics effectively and efficiently, allowing you to take advantage of this important lighting detail. Go ahead and include fountains or ponds in your architectural rendering!
4. Refine Textures and Materials
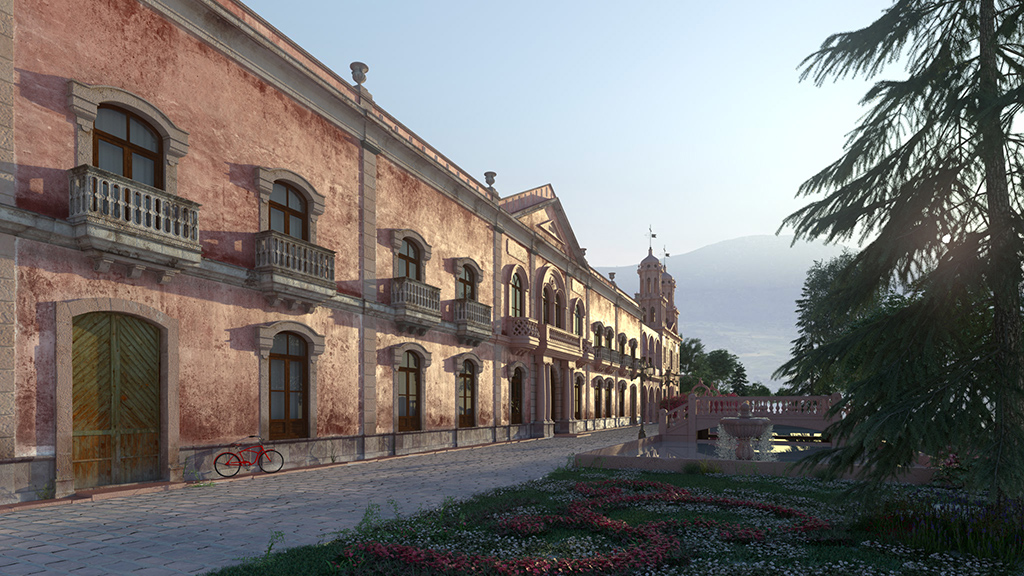
An architectural rendering incorporates many colors, textures, and materials. Certain materials and textures will look different depending on the situation and especially the time of the day. For example, if your rendering is intended to look like a photograph shot during the morning golden hour, you’ll want the rendering to look bright and warm and not “orangey”. Refine textures and materials to look realistic to the environment and include the appropriate level of dullness or shine. This tutorial describes how to apply textures and materials to your rendering. Because FluidRay renders in real-time, you can quickly adjust textures and materials in the viewport until the rendering looks just right.
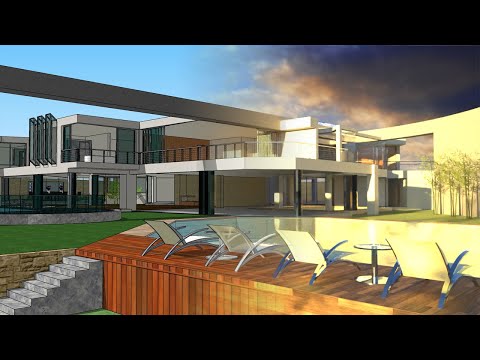
5. Determine Your Focal Point/Camera Position
Setting the focal point of a rendering to be viewed from a specific angle or point of view allows you to create a certain tone and more natural look. Perhaps you want your image to be viewed from above or from an angle. Or, perhaps you want to focus on a small portion of the building to highlight a specific feature. Consider what you are trying to emphasize in your rendering and choose a focal point accordingly.
FluidRay helps architects easily create beautiful architectural renderings. If you want to experience the power of how FluidRay can help you create expert architectural renderings, download our software for a free trial. Our pricing is inexpensive and we offer an extensive library of tutorials so anyone can experience the good side of rendering!
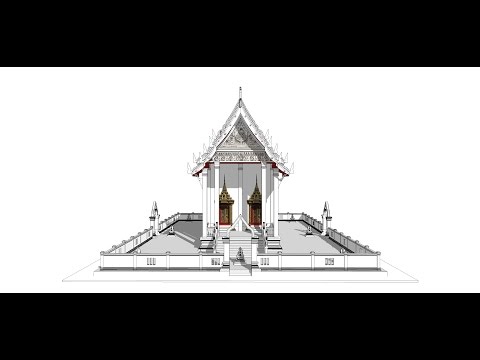
Watch How to Create Thai Temple Model in SketchUp Pro 2015
Building architectural models from the ground up takes imagination, an eye for detail, and a solid understanding of your tools. In this video, we see a Thai Temple developed in SketchUp 2015 with the addition all the shapes, dimensions, spacing, materials and textures shown.
The video, from JMsketch04’s YouTube channel. It’s longer than most of the videos we share (38:03), but it’s worth the time.
I especially like the order of the modeling with a good use of library assets and a consistent workflow. If you’ve ever tried building a complex models or ones with lots of assets, then you know that you need an efficient process to make sure everything comes together and avoid having to redo work later.
If you’re new to SketchUp modeling or want to learn how to build models more efficiently, then checkout this video.
Cool Video on the Merits of HDRI for 3D Rendering
The images you use as sources and output have a big impact on the realism of your renders. This video from dimensiont on YouTube looks at the value of using HDRI images when doing renderings. I think the video could use a different soundtrack, but the examples given are convincing.

In the video, you’ll see the difference in colors, shadows, lighting and reflections between high dynamic range images and formats like jpeg and png. The video does a great job of making the difference in contrast and detail obvious. It also gives you some hints to the value for different lighting environments though I’d say the video could use more lighting examples.
Watch this video if you’re working on placing made objects and people into real-world environments or struggling to fine-tune a render.