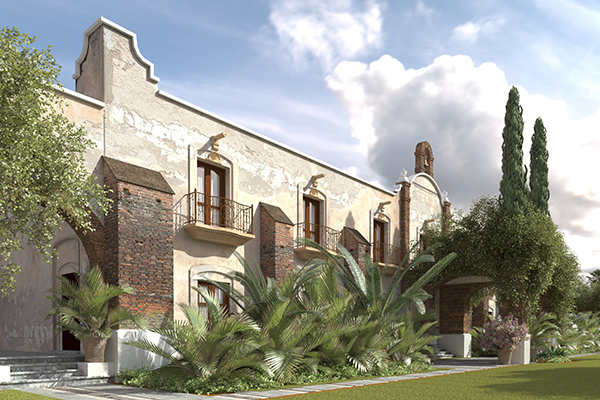
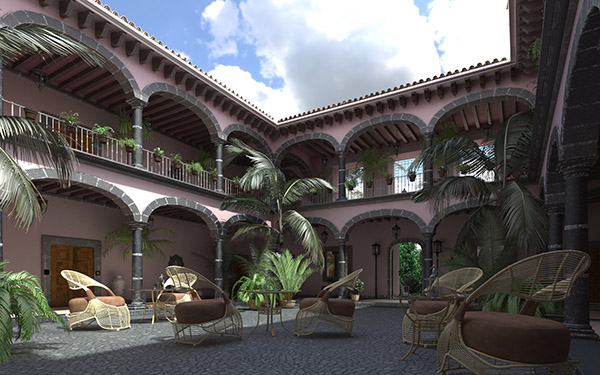
In this tutorial we are going to cover step by step the process of taking a 3dsmax scene, exporting it in .fbx, and rendering it using FluidRay RT. The following are a couple of examples of the results achieved. The original scenes were taken from Evermotion Archexteriors collection and originally came as 3dsmax scenes with textures, materials and cameras setup for VRay. Note that this tutorial applies to all 3dsmax scenes, not only those setup in VRay.
Scene Preparation
Before exporting, we need to make sure that the scene is setup correctly, so that most of the information is retained in the process. There are a few things that need special attention, in particular:
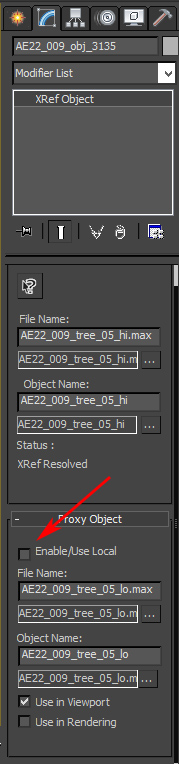
- XRefObjects proxies (we want the full resolution mesh exported)
- Objects that are not part of the standard 3dsmax installation (such as VRayCamera, VRayMaterial, VRayProxy) and for this reason are not handled by the standard 3dsmax exporter
- Complex texture networks that are not supported by the export format
For XRefObjects, make sure to uncheck the “Enable/Use local” checkbox, so that the full resolution mesh is used (see screenshot).

For VRay objects, we need to convert them to standard 3dsmax equivalents, so that they can be properly exported.
For textures, there are some nodes that are not handled by the exporter, such as color correction nodes or texture mixing nodes. In those situations, we need to remove the color correction nodes and connect the bitmap textures directly to the material.
We provide a Maxscript that does all this work automatically. Right before exporting, load the script in the Maxscript editor and press Ctrl+E to execute the script. You can get the script in the Addons Page.
Exporting
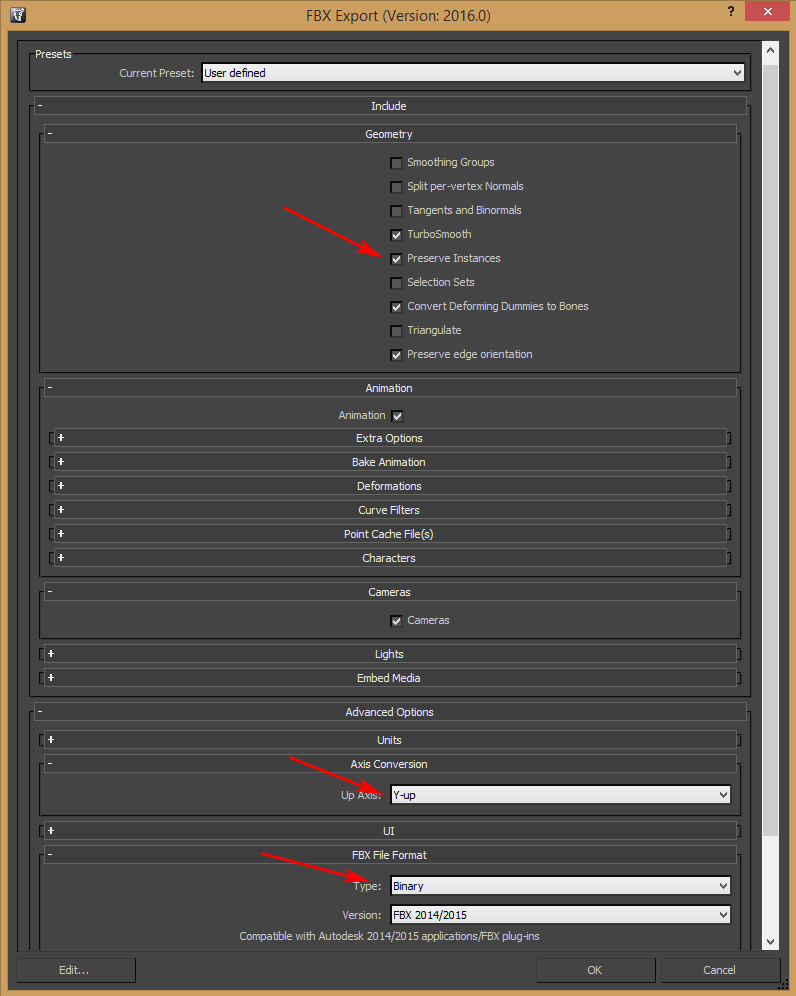
We are going to use the Autodesk .FBX format to export the scene to FluidRay RT. In the FBX exporter options, make sure that the to select “Preserve Instances”, “Y-Up”, “Binary” (see screenshot).

The “Preserve Instances” options allows to keep instanced geometry as it is in 3dsmax, instead of duplicating the mesh information an wasting a lot of memory. FluidRay RT will then preserve the instanced geometry as well.
The “Y-Up” option converts the axis orientation from the “Z-Up” 3dsmax convention to FluidRay RT‘s “Y-Up” convention.
The “Binary” option is suggested to keep the exported files to a manageable size.
Importing
Just start FluidRay RT, then go to File->Import and select the exported .fbx file.
Tweaking the scene in FluidRay RT
There are a few things that need to be adjusted to get the best results: Bump Mapping, Organic Materials and Cameras.
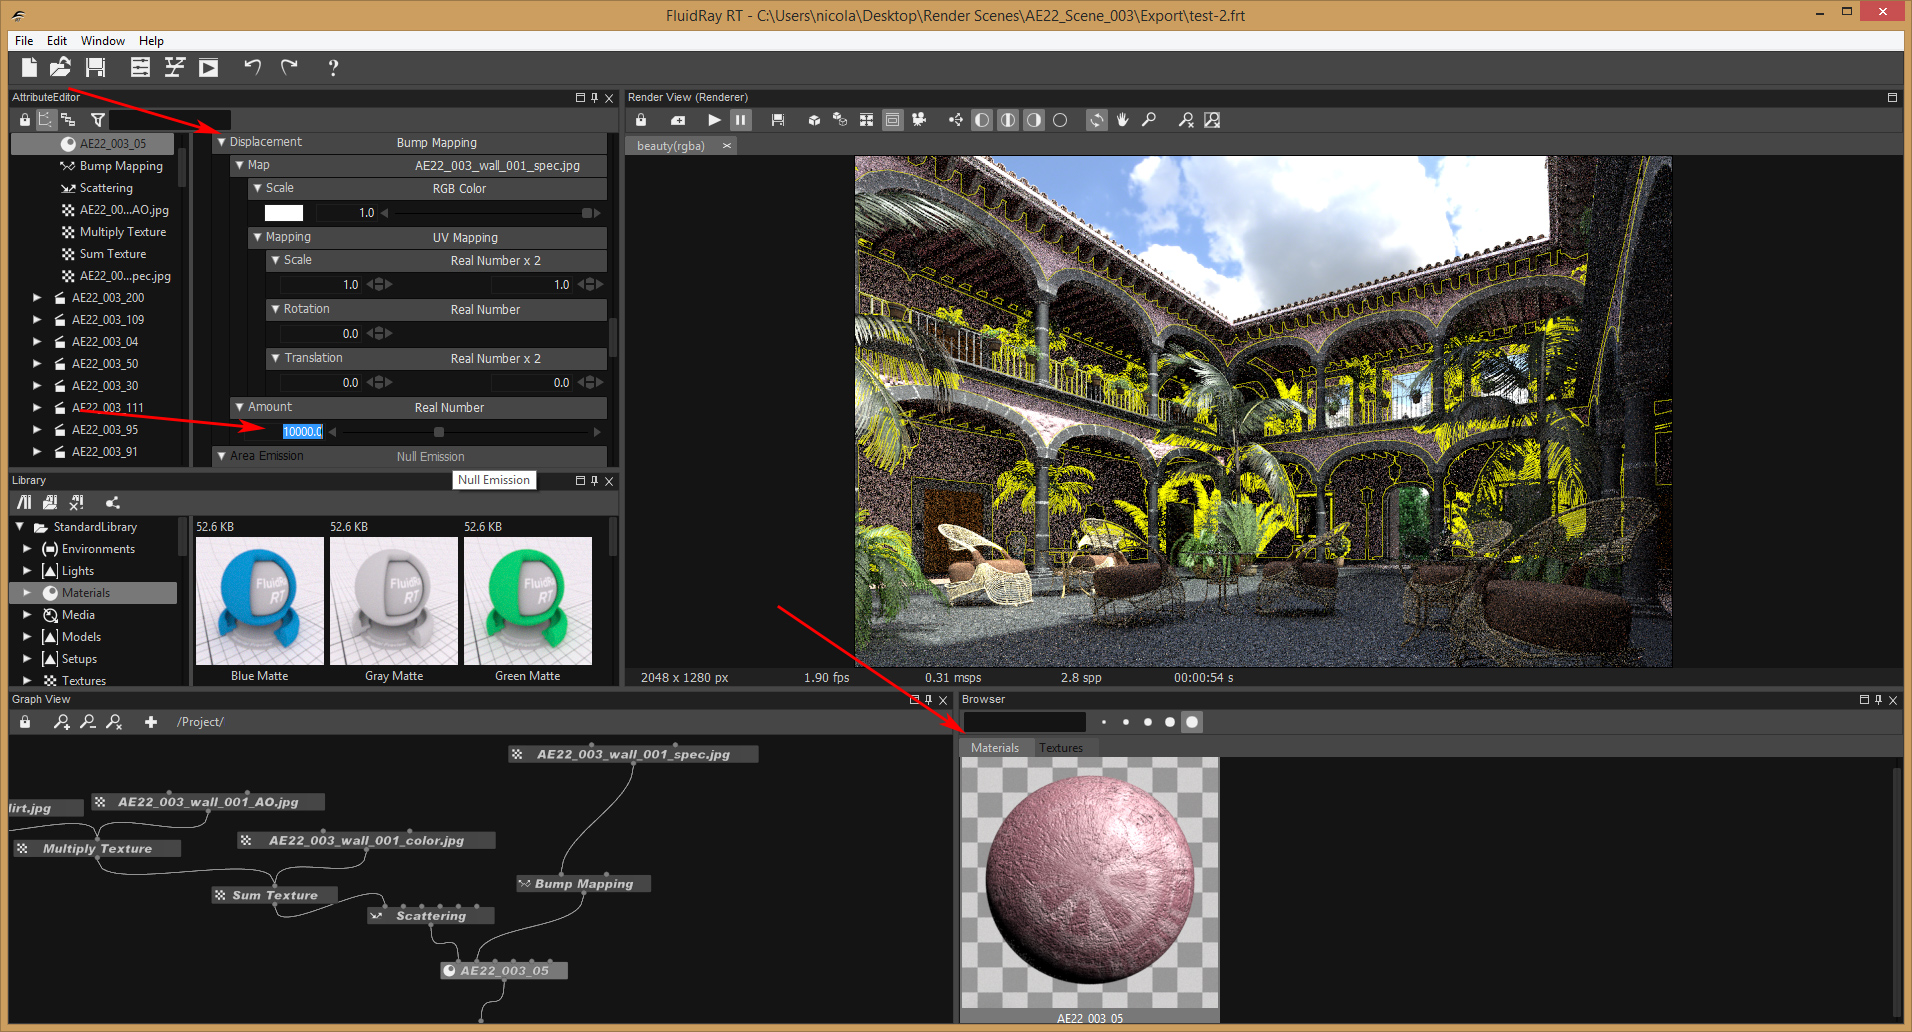
Bump Mapping – The bump mapping texture is exported correctly, but the amount of bump needs to be adjusted. Select the material, then in the Displacement section adjust the “Amount” parameter until it’s visually satisfying. You can use the browser preview to make the process easier.
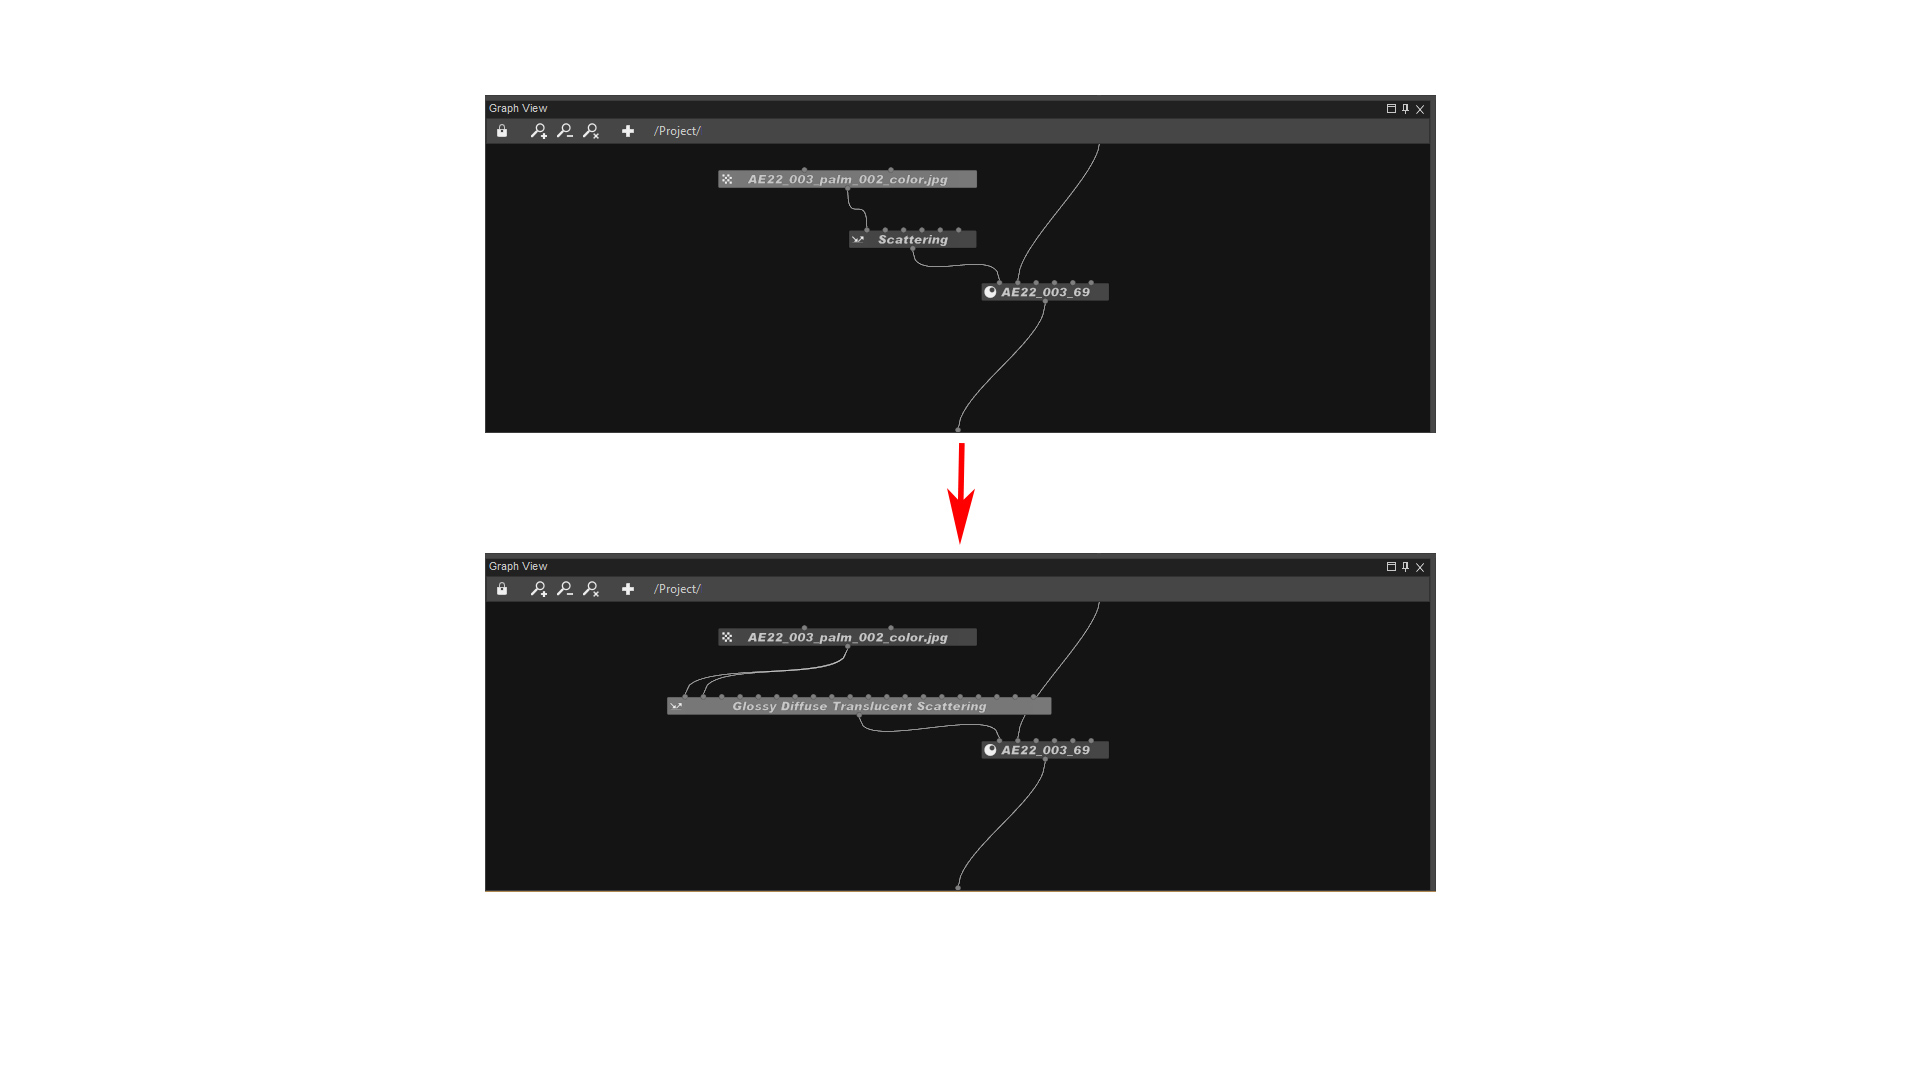
Organic Materials (Leaves, Flowers and Plants) – The exported material is not the best suited for plants. To achieve the best result, we need to change the standard scattering of the material to “Glossy Diffuse Translucent”. In order to do that, select the material, then, in the Graph Editor, right click on the scattering input of the material and click on Connect to a new -> Glossy Diffuse Translucent. If the original scattering had a texture attached to the diffuse input, you need to connect the texture to both the Diffuse input and Transparency input of the Glossy Diffuse Translucent node. You also probably want to increase the Roughness parameter to 0.1. 
Cameras – The camera position and orientation is exported, but, due to some limitation in the .fbx import library, you will need to adjust the FOV and Camera Shift/Camera Tilt if present.
Conclusions
We shown the process of converting a 3dsmax scene to FluidRay RT. The process is pretty straightforward and normally doesn’t require much tweaking. Once you get the hang of it, it should take no more that 20-30 minutes to have a fairly complex scene ready to render in FluidRay.
If you want a more in-depth knowledge about FluidRay RT, check out the Help Page.
Also, if you have further questions, fell free to post on the Discussion Forum.