
How to Render Animations in FluidRay
In this tutorial we will show you how to quickly render camera animations in FluidRay.
If you are a designer, sometimes making a quick video is the most effective way to show your product to a client. Or, if you are an Architect, a camera walk-through can immerse your clients in the spaces you have created for them.
Making such videos is really easy in FluidRay.
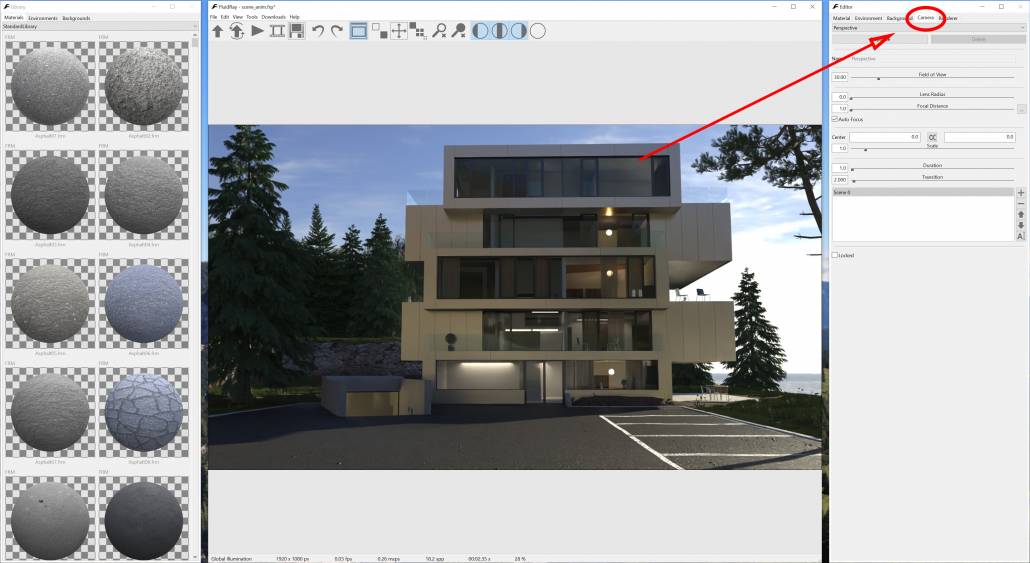
Start by loading your project, then navigate to the Camera tab on the Editor window that is located on the right.
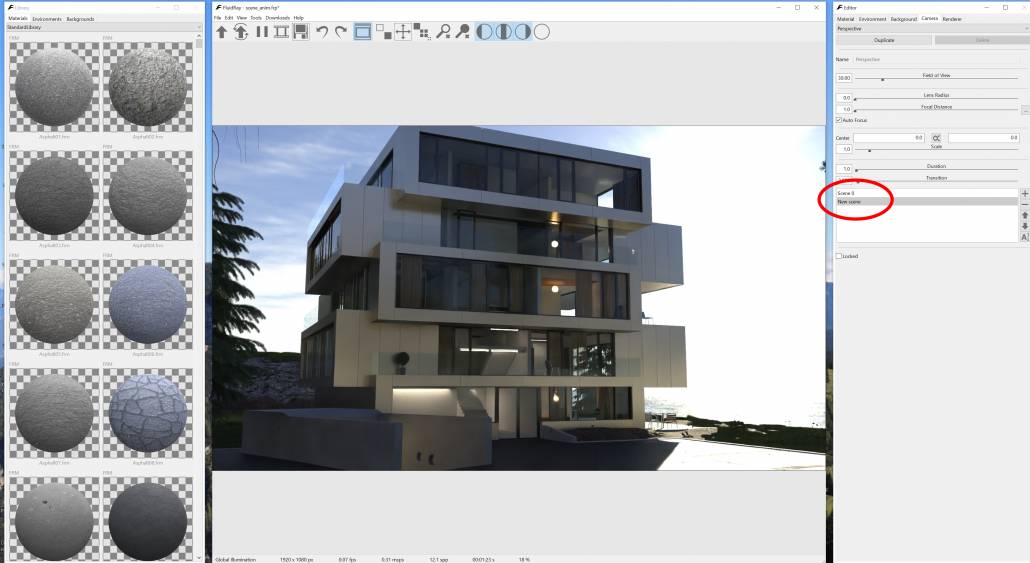
There are a few buttons on the bottom right of the panel that allow you to manipulate the different “Scenes”:

A “Scene” is a point of view that your camera will go through. After you have added a few scenes with different point of views, FluidRay will automatically create an animation by transitioning between them.
Click on the “+” button to add a new scene, then move the camera to another point of view:
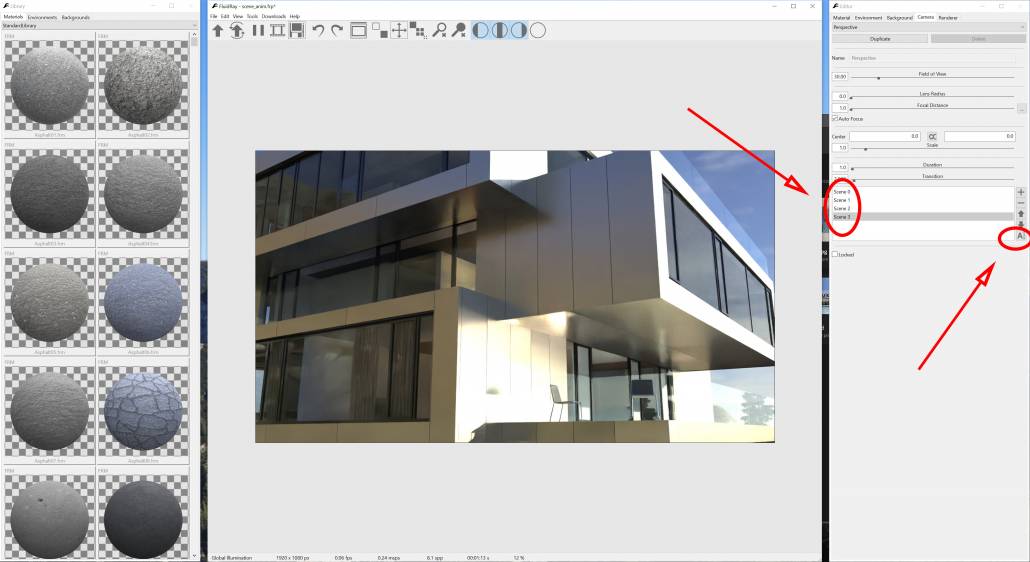
Keep adding points of views to cover all the walkthrough.
You can also rename the scenes by clicking on the corresponding name or by clicking on the “Rename” button:
Two parameters are important for animation – Transition and Duration:
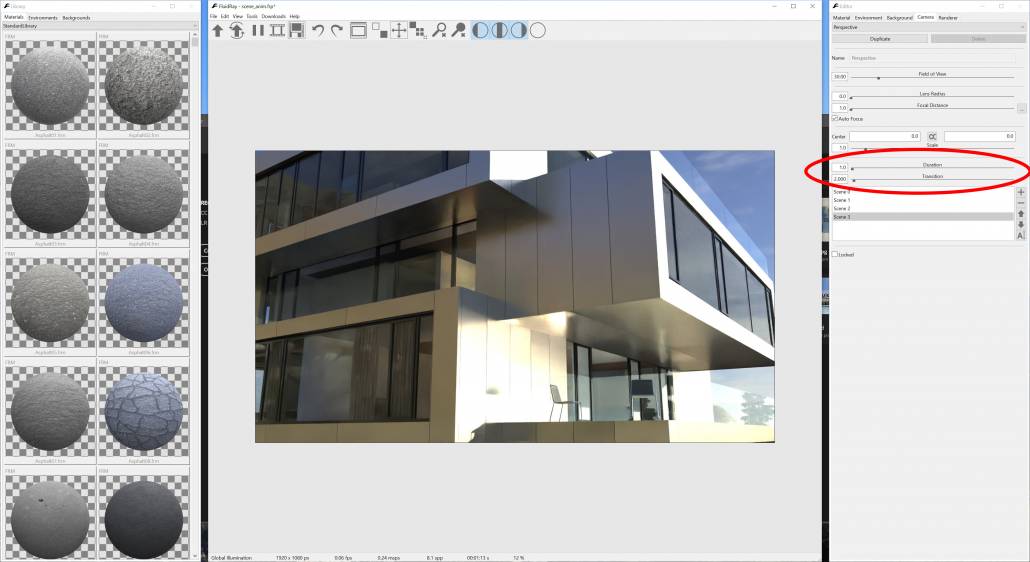
- Duration: how long, in seconds, the camera stays fixed in the same point of view
- Transition: how long, in seconds, the camera takes to go from a point of view to the next
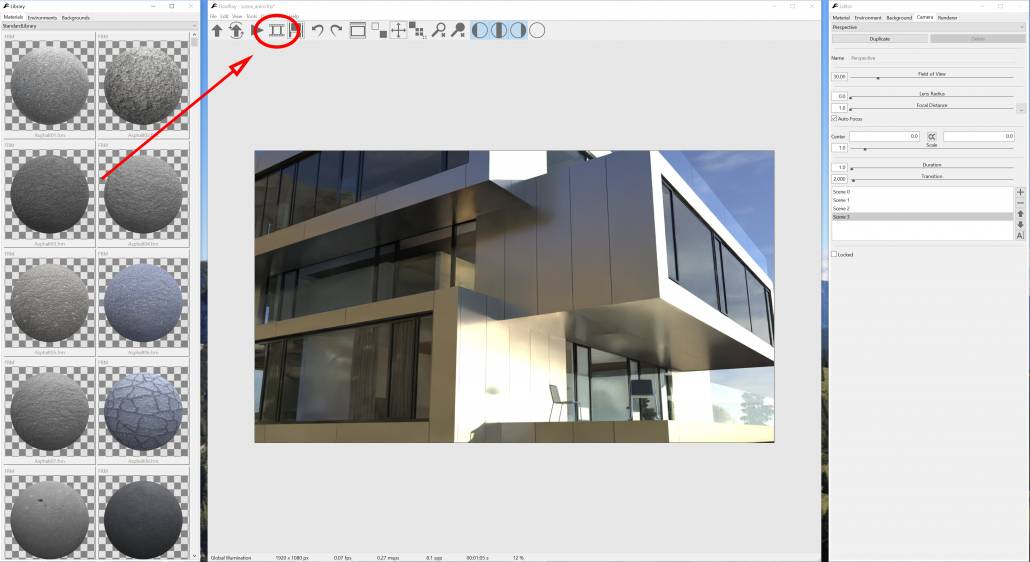
We can now ready to render our animation. To access the render animation dialog, press the “Reel” button on the main toolbar or go to the menu Tools -> Render Animation:
The Render Animation dialog appears:
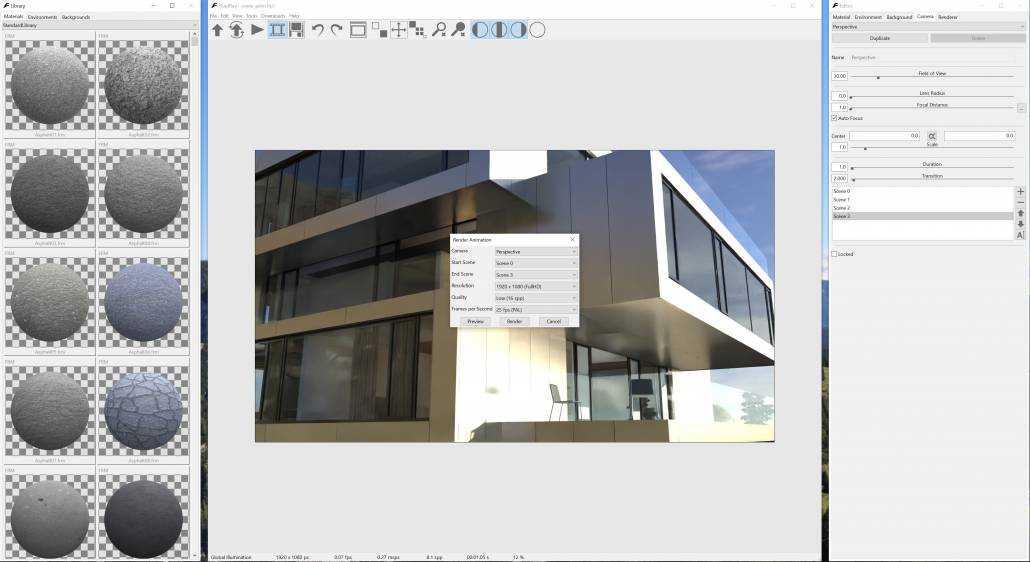
The following options are available in the Render Animation dialog:
- Camera: the camera to be used for the animation
- Start Scene: the scene (point of view) where the animation starts
- End Scene: the scene (point of view) where the animation ends
- Resolution: animation resolution. The smaller the resolution the less time it will take to render the animation
- Quality: the samples per pixels used to render the animation. Lower values will result in lower quality but quicker render times.
- Preview: the preview button will show a quick preview of the animation, useful to check the animation before starting the final render.
- Render: the render button starts rendering the animation.
By clicking the Render button you’ll be asked the location where to save the rendered animation:
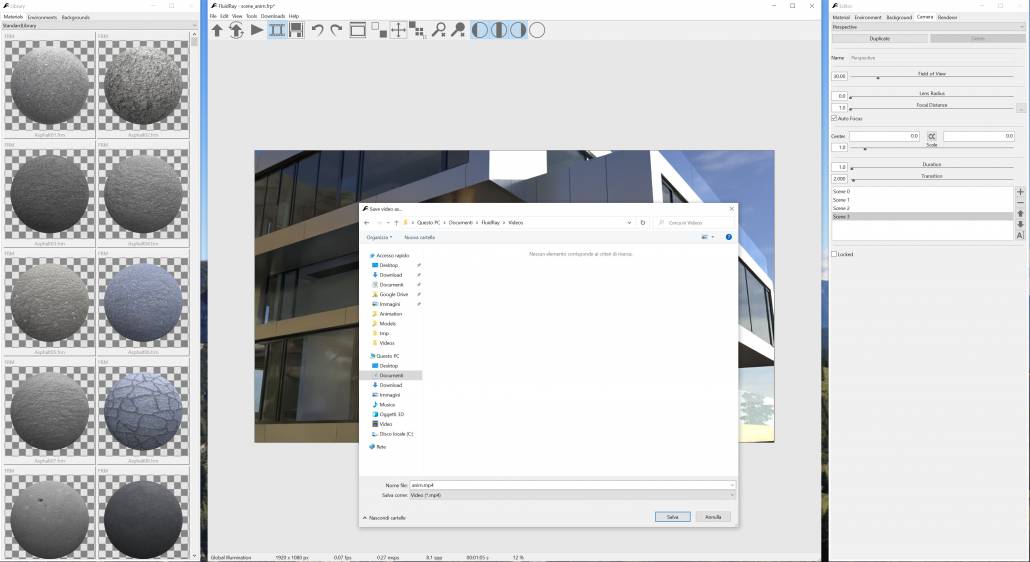
Note that when selecting the location where to save the video, it’s also possible to decide if to save the animation as a video file (.mp4) or as multiple image files to be joined together at a later time.
This concludes the tutorial. If you have questions, please post them on our Discussion Forums.
If you would like to try FludRay, download the FREE TRIAL.