
How to Create Realistic Interior Lighting with FluidRay
We are in trying times. No matter each of our specific situations, everyone has been affected by the global pandemic and we’ve all had to modify our day to day lives in order to keep our communities safe. The FluidRay team wishes everyone the best as we all adjust.
Are you able to work remotely? Why not use this time to refine your rendering skills with these tips on how to use FluidRay to create renderings with realistic lighting?
Proper interior lighting is crucial when designing an interior, particularly when working to create the ambiance of a room. Lighting adds both style and function and determines the mood of the space. Perfecting the lighting effects in 3D renderings enables designers to accurately communicate the intended mood for a room. Creating lighting effects in FluidRay is fast, easy, and produces beautiful results that will impress your clients!
Keep reading for detailed instructions on how to bring your renderings to life with interior lighting.
Step 1: Import Your 3D Model
Create your 3D model in your favorite modeling software. We used SketchUp for this example.
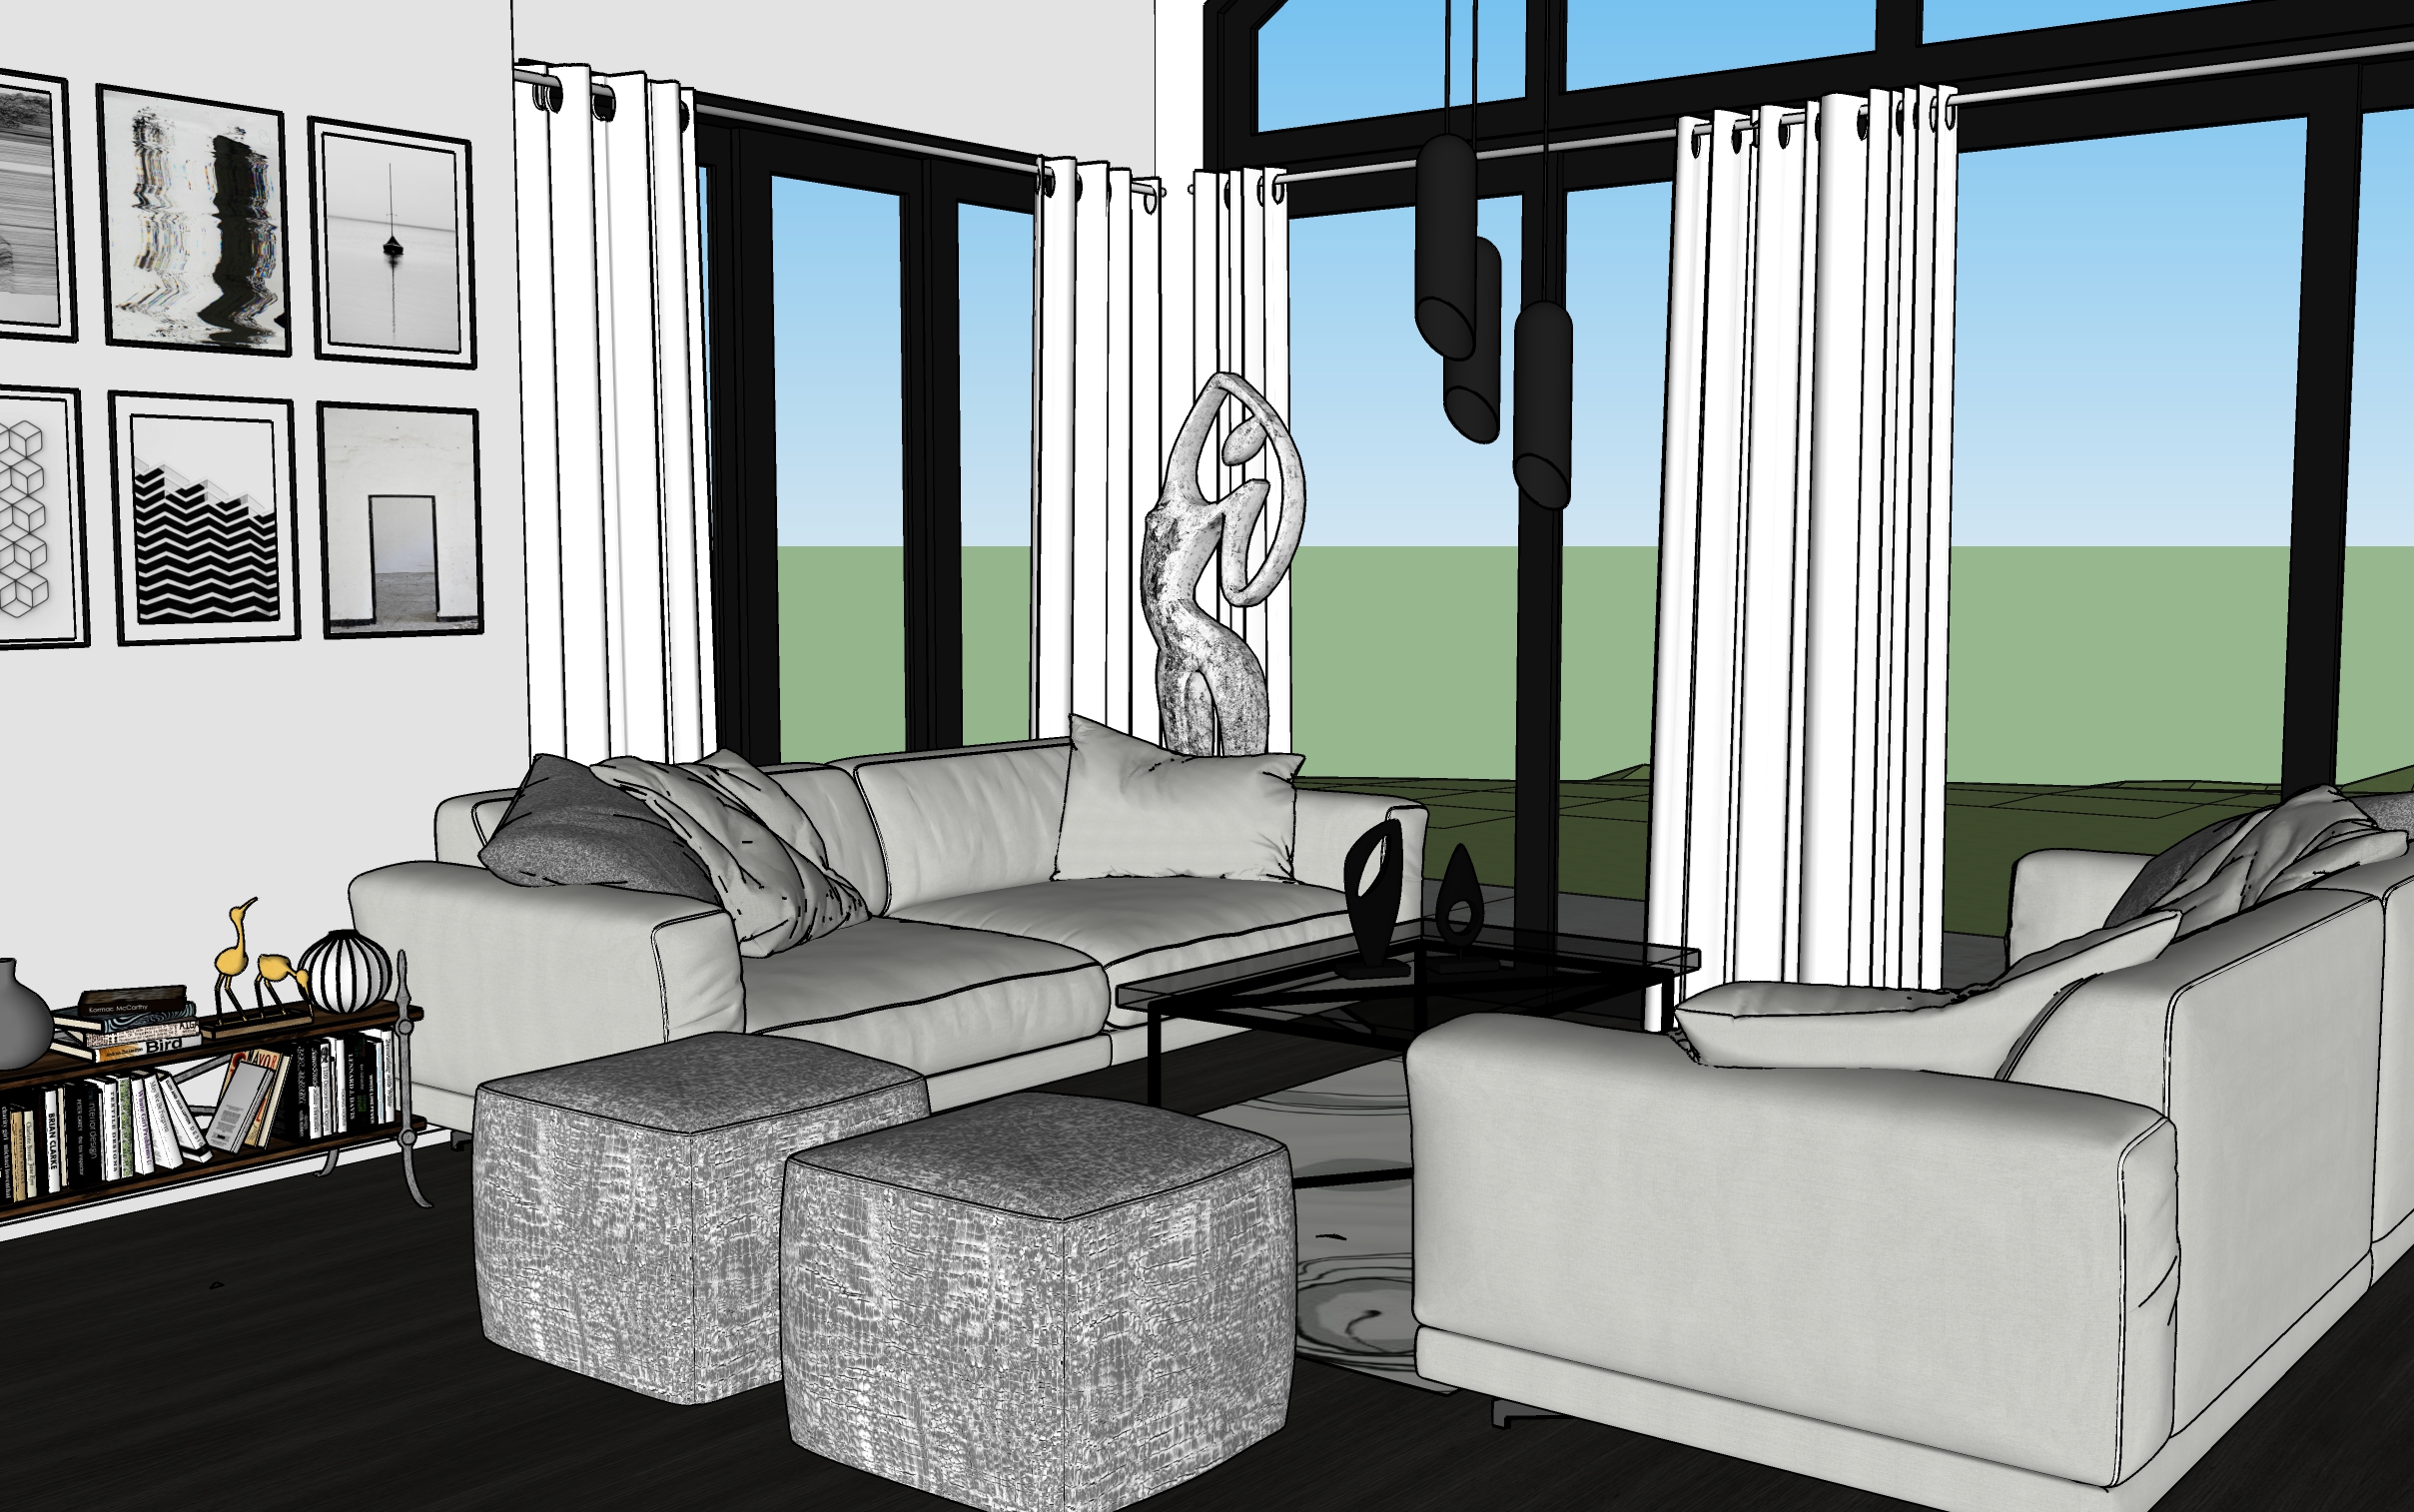
livingroom.skp
Once your model is created, import the file into FluidRay.

FluidRay works directly with SketchUp (.skp), Rhino OpenNurbs (.3dm), FBX (.fbx), Alias Wavefront (.obj), Collada (.dae), 3DS (.3ds, .ase), DirectX (.X), Stanford PLY (.ply), and STereoLithography (.stl).
If your filetype isn’t listed here, simply export to an .fbx file within your 3D modeling software and then import into FluidRay.
Step 2: Set Materials
Let’s begin by setting the materials in the model. By setting materials before adjusting the lighting, you can see how the materials will react in real time when adjusting the lighting. Select an object from the model and then from the drop down menu in the Materials tab, drag and drop the desired material into your rendering. FluidRay has a large library of high quality materials from which to choose and the ability to import additional materials.
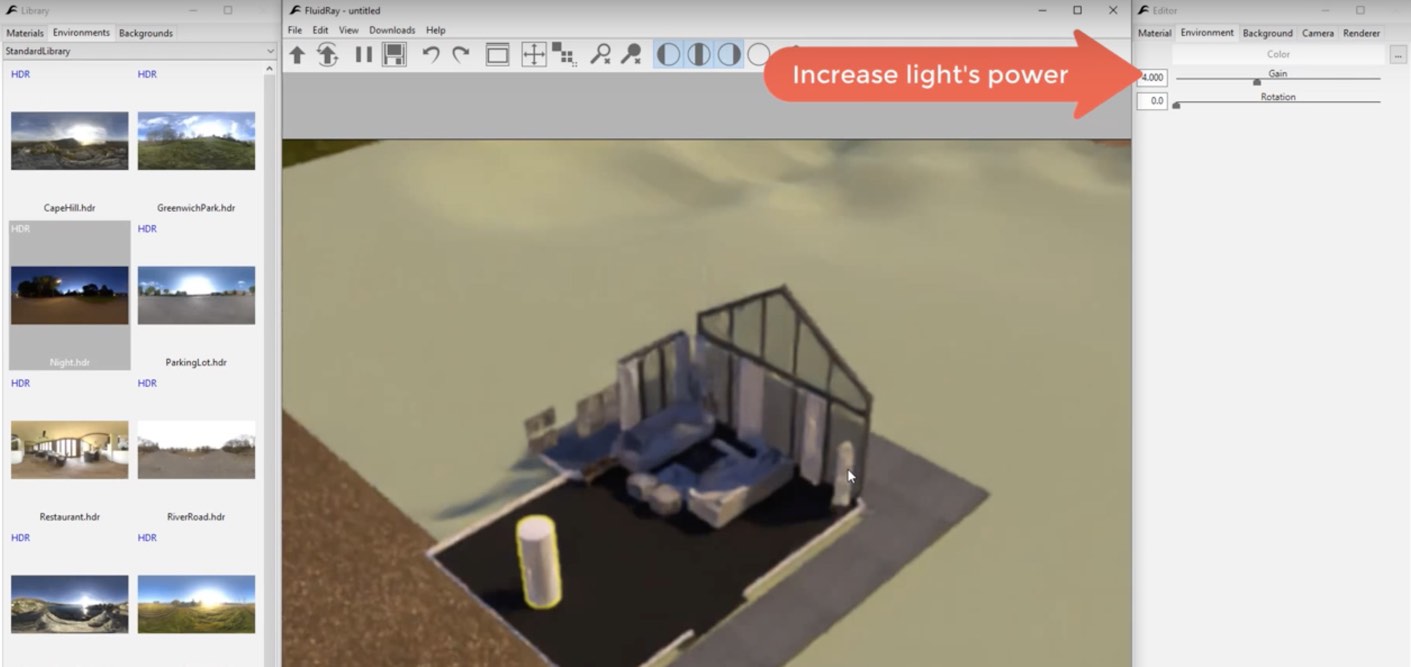
Step 3: Add Environmental Light
Environmental light comes from the outside, rather than from the inside. Environmental light is a global parameter, meaning it will affect the entire rendering, not only one part of it.
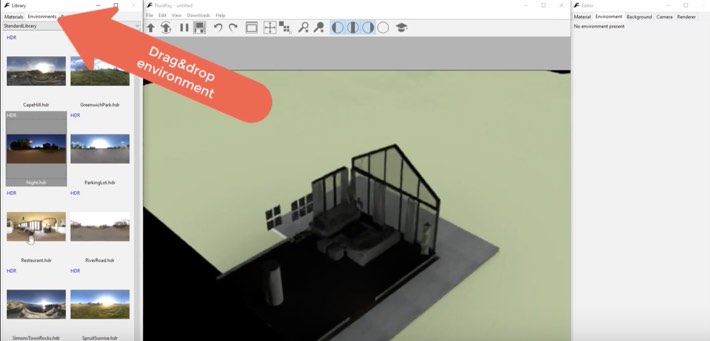
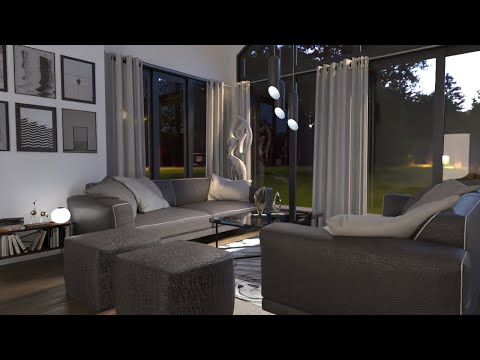
In this example, we start with the night environment and then we increase the light’s power.
You can see the room in our model takes on light from the environment as if it is night time outside. Increase the light’s power in the right panel using the Environment tab.
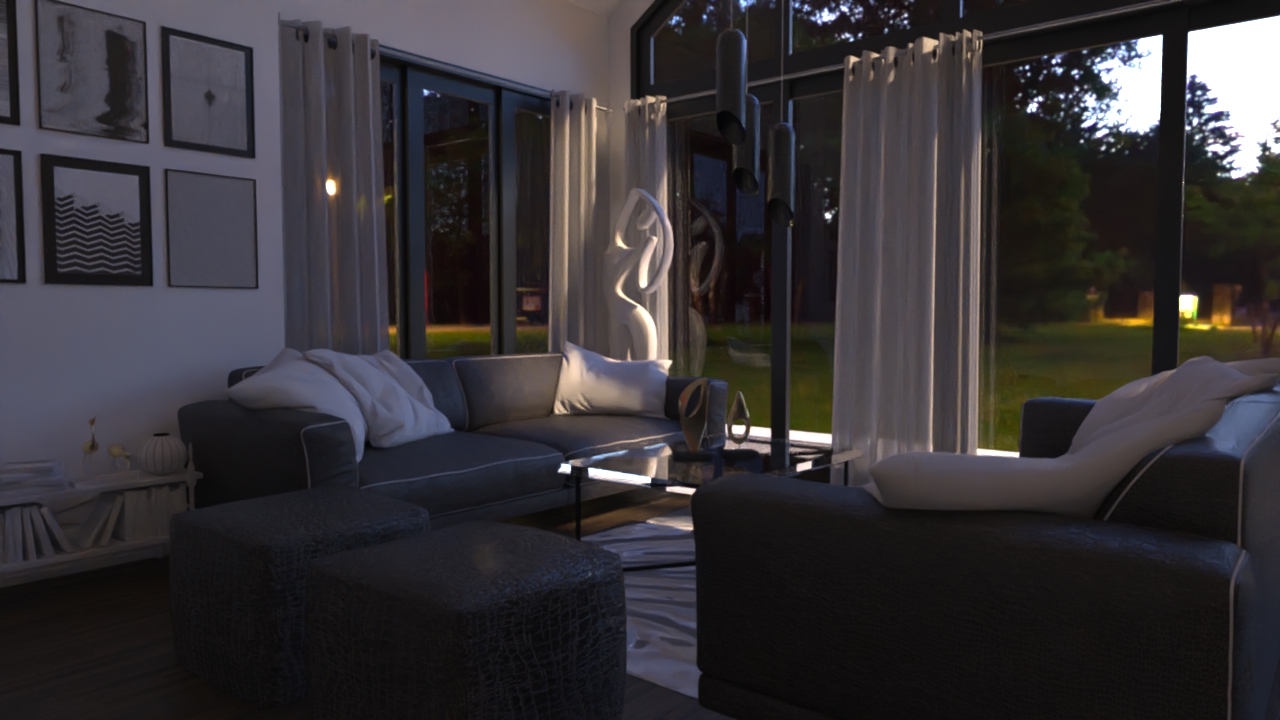
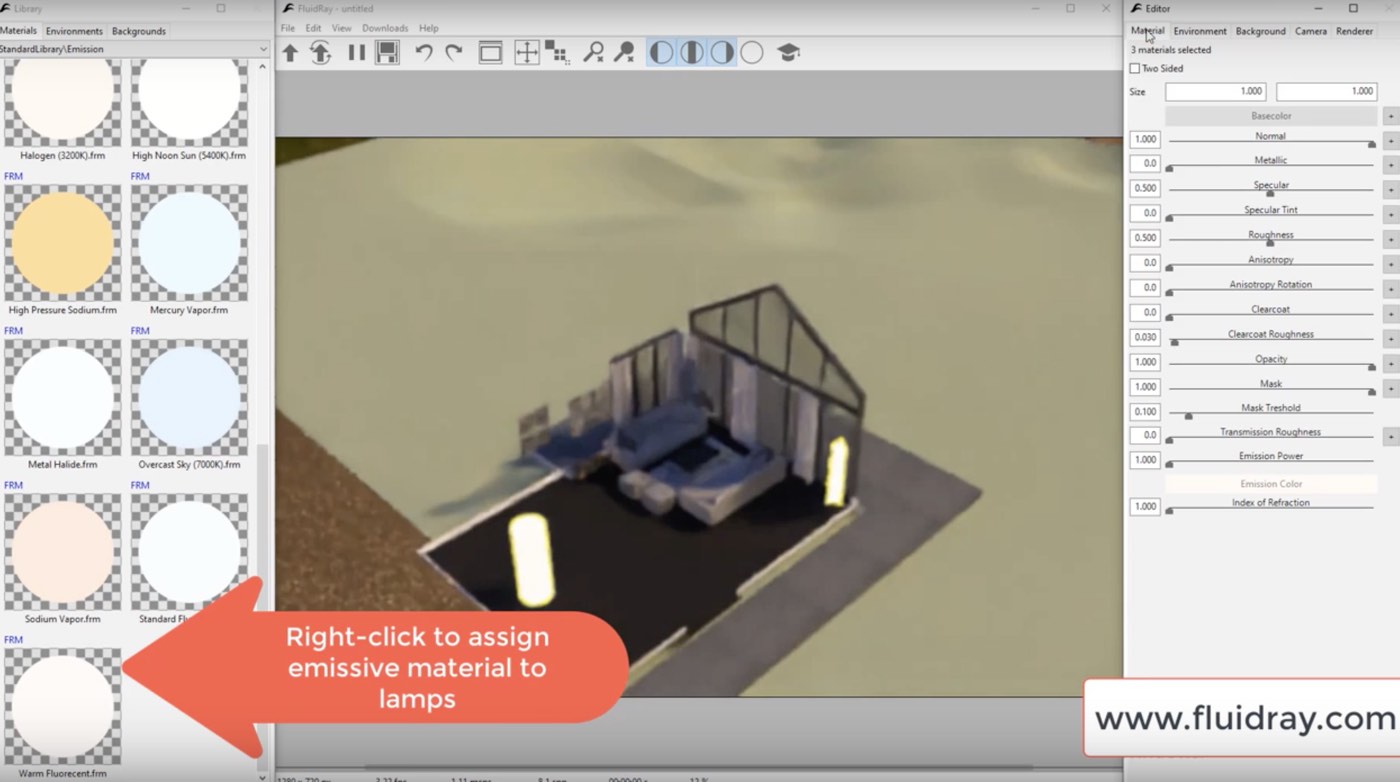
Step 4: Add Artificial Light
Artificial light includes overhead lights as well as table or floor lamps. We recommend applying the artificial light first without the environmental lights. Simply select the surface you want to emit light and tweak its emission power and color. You can also drag and drop an emissive material onto the surface.
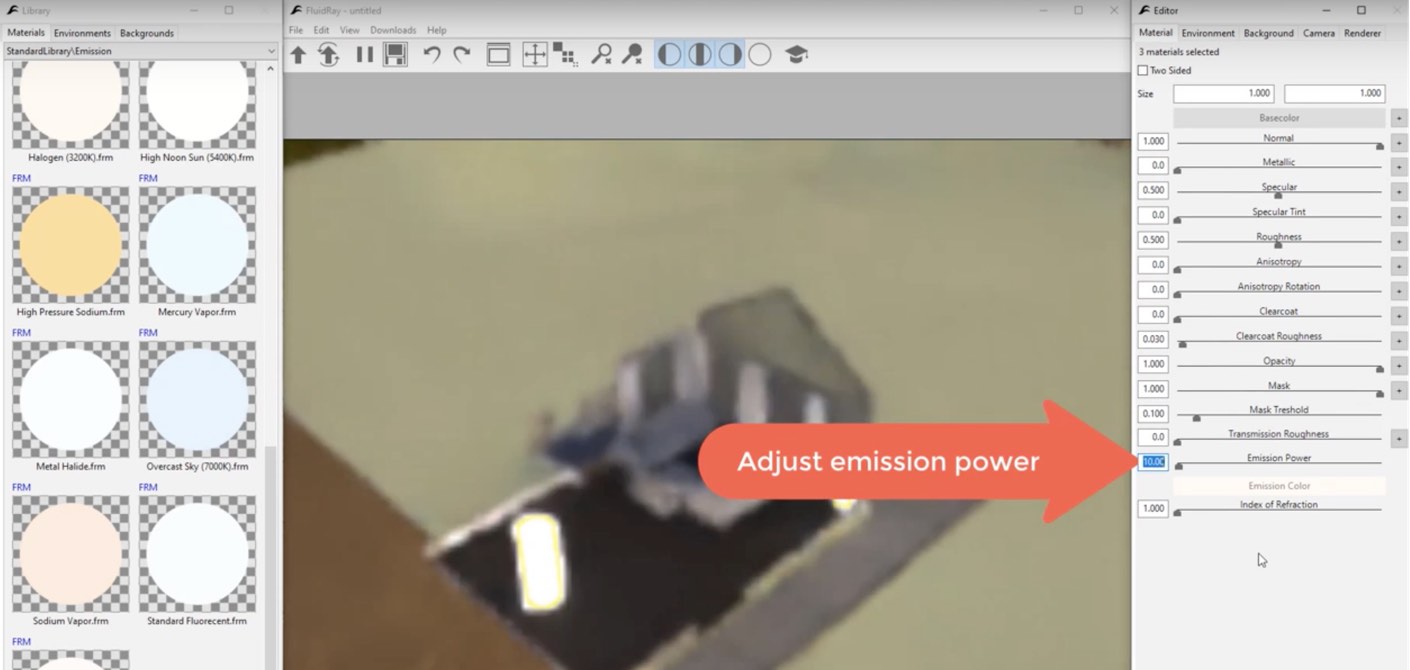
Go through these same steps for each of the artificial lights in your rendering.
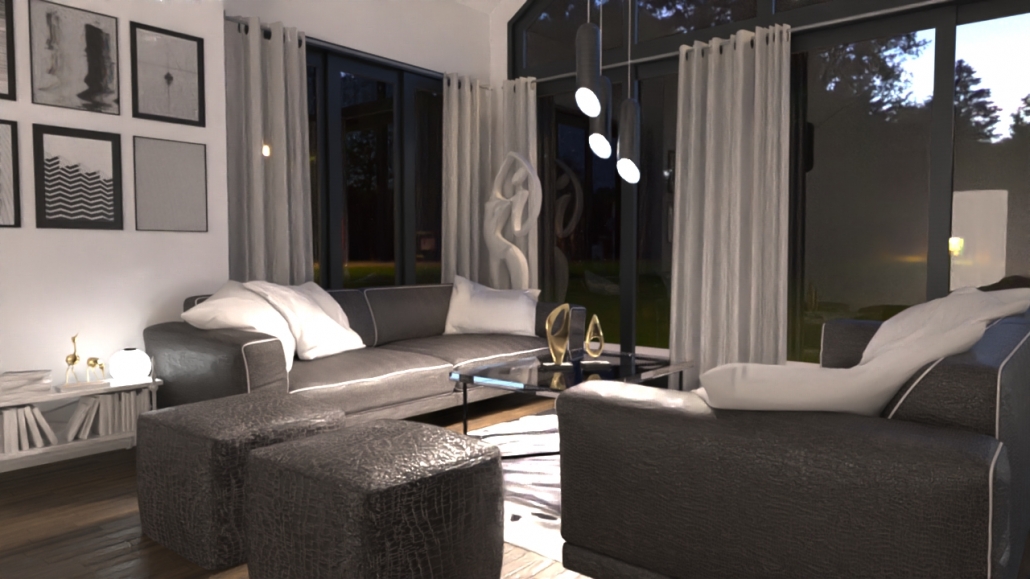
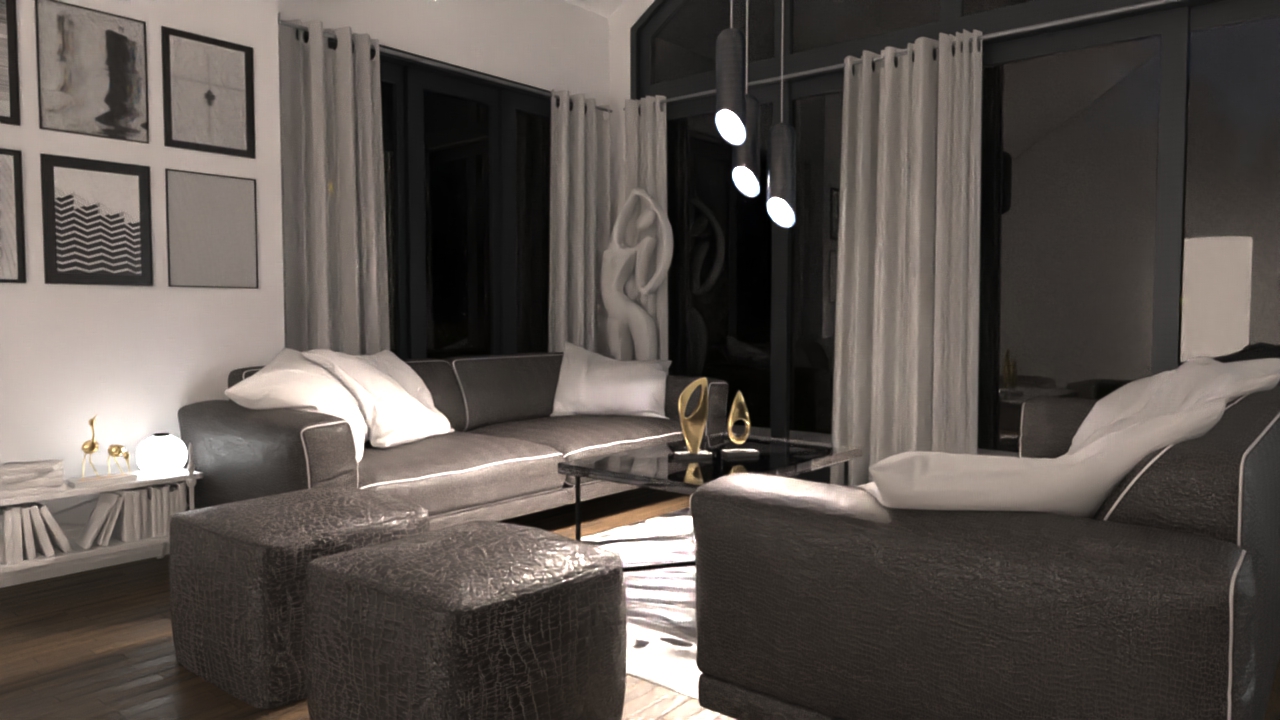
Step 5: Turn Environmental Light Back On
Turn the environmental light back on so the rendering includes both environmental and artificial lighting. This rendering is really coming together!

Step 6: Finalize and Adjust Your Rendering
In this final step, you’ll tweak the materials, environmental lighting, and artificial lighting to get to the final result. Thanks to FluidRay’s speed and ability to render in real time, you’ll immediately get an idea of how the render will look after each and every material or light change.
Check out this video that walks you through how to do these steps in real time.
FluidRay also offers training tutorials for more details on learning how to render images. You’ll create designs quickly and easily, freeing yourself up to focus on imagining interiors for your clients.
If you want to experience how FluidRay can help you inspire your clients, download our software for a free trial. Our pricing is inexpensive so anyone can experience the good side of rendering!

