How to Create an Architectural Rendering With FluidRay
FluidRay helps architects easily create beautiful architectural renderings. If you want to experience the power of how FluidRay can help you create expert architectural renderings, download our software for a free trial and keep reading to learn how to create an architectural rendering.
Creating the perfect architectural rendering can certainly be time consuming. The amount of detail, materials, colors, and textures that go into creating a beautiful rendering can quickly become overwhelming. Follow the steps below to walk you through how to create an architectural rendering and take it to the next level so you can effectively communicate your designs and architectural talents to your clients. When done right, renderings will set you apart from your competition and demonstrate your capabilities.
What Is Architectural Rendering?
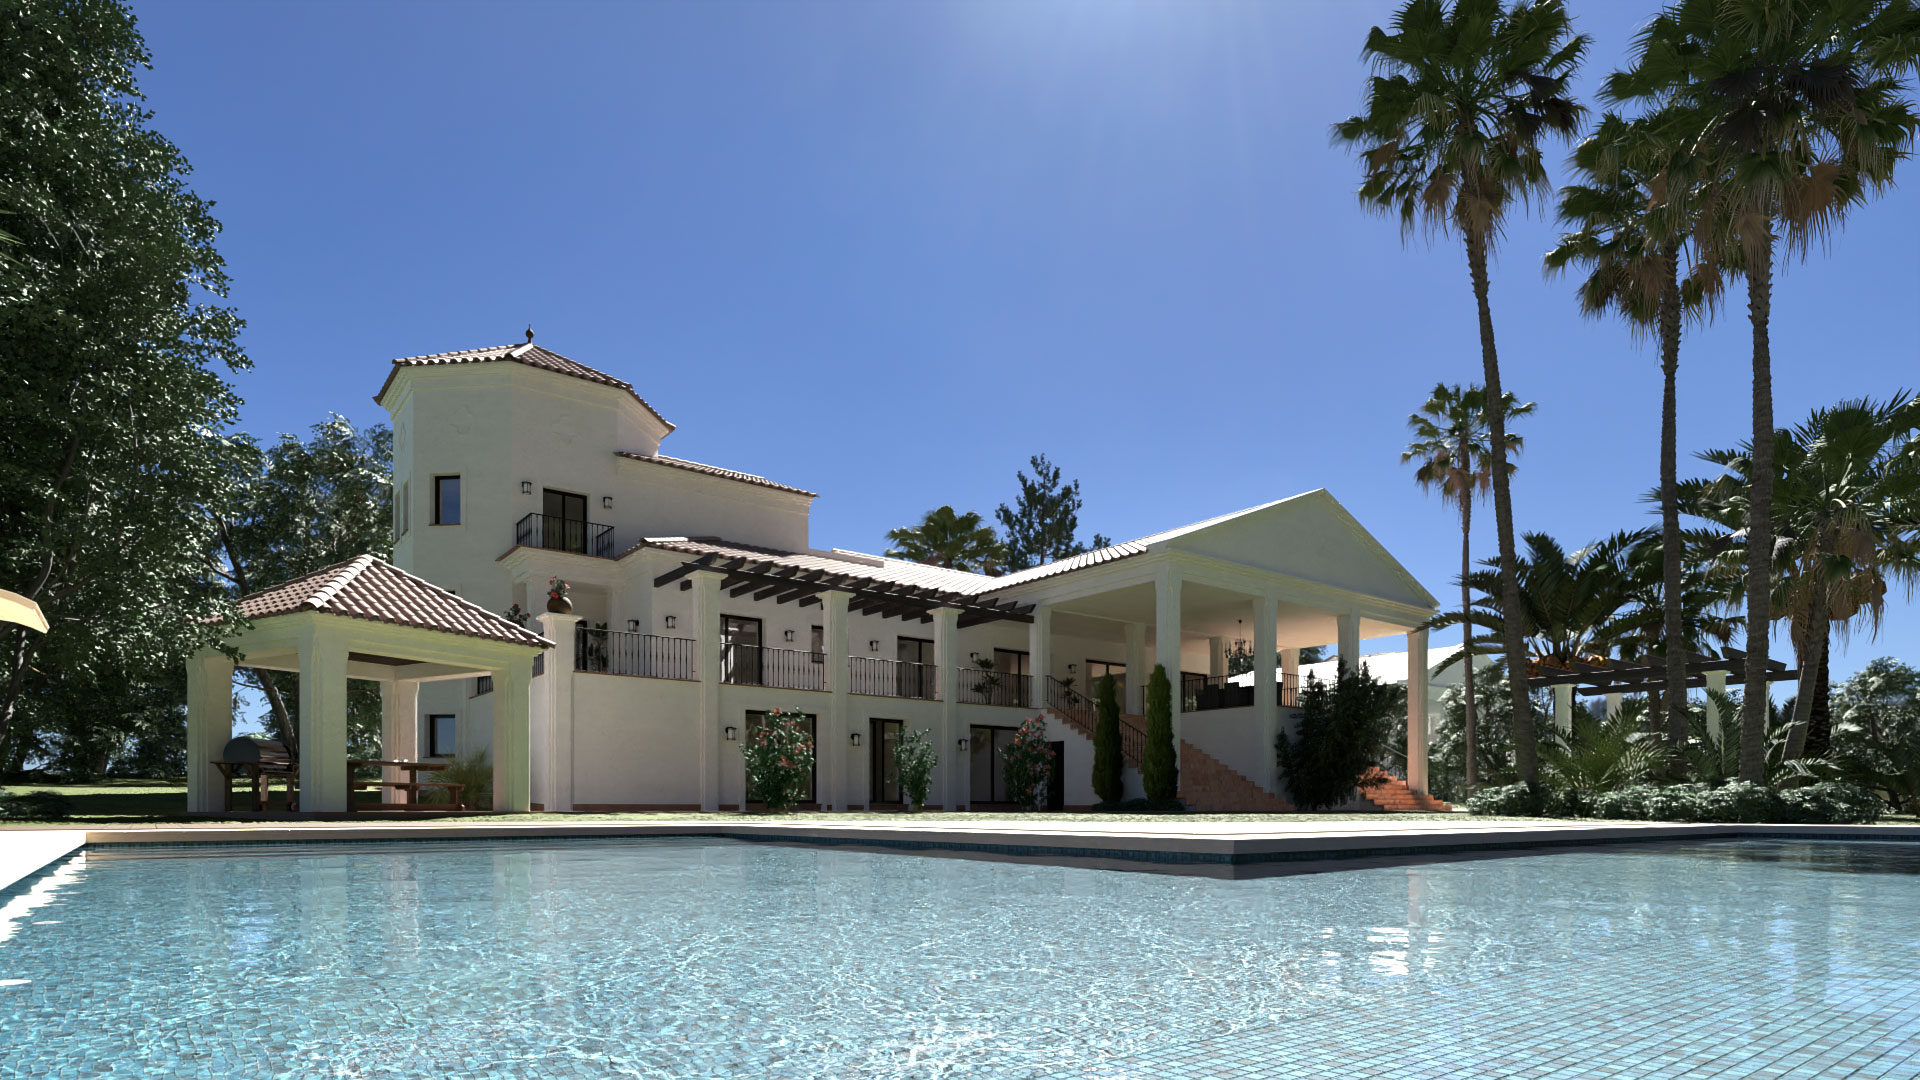
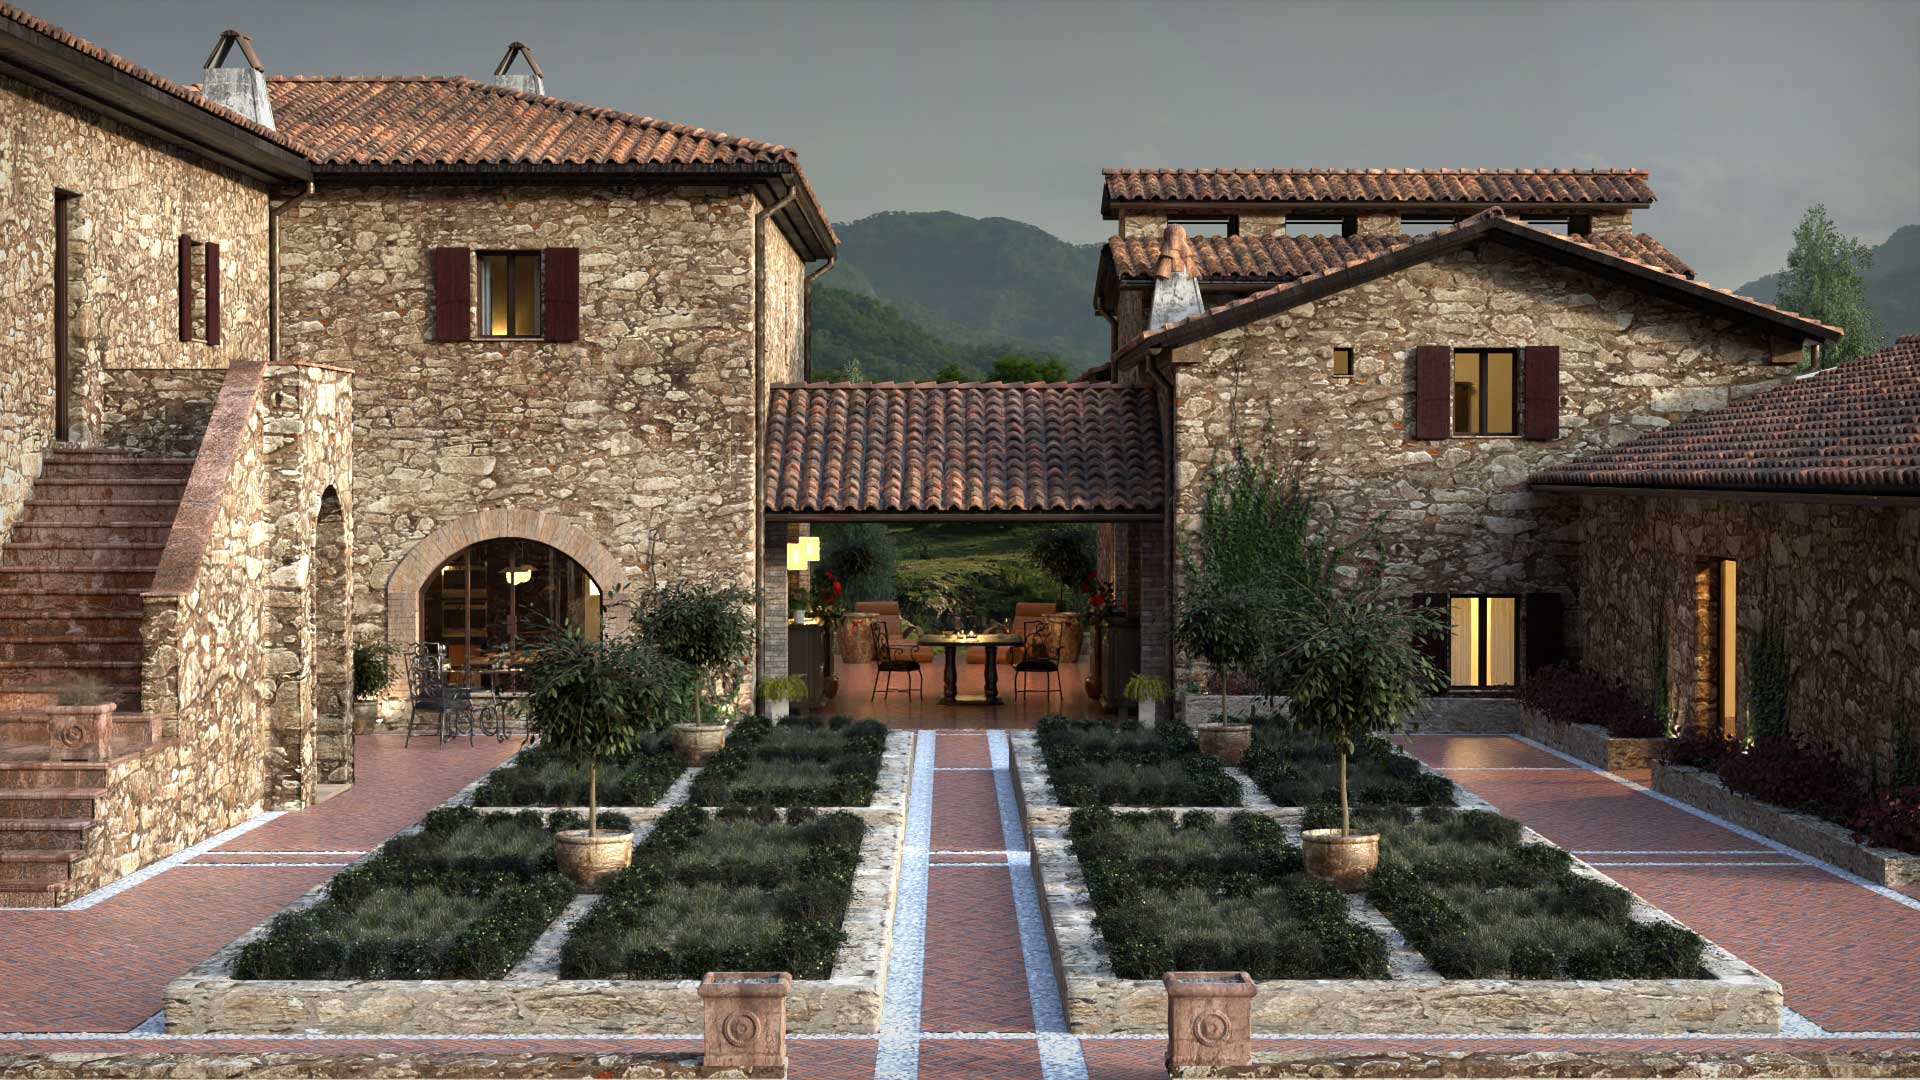
An architectural rendering is a three-dimensional image that shows the attributes of the proposed architectural design. If done well, a rendering looks realistic and can beautifully illustrate to a client the proposed building design. Renderings work well for visualizing the details of architecture project and enhance communications between designer and client.
To create your own 3d rendering, follow these steps:
- Create a 3D model of your architectural design: Use 3D modeling software such as SketchUp or Rhino to create a 3D model of your design.
- Import 3D model (list file types) into FluidRay: Click the “up” arrow in the toolbar or click File, Import and navigate to your 3D model file. Once you select your file, click open to import the file into the FluidRay viewport.
- Apply environments: Now that the model is loaded, apply environments to your image. To do this go to the library panel on the left and select the desired environment. Drag and drop the environment to the viewport and adjust by going to the environment tab in the editor panel (located on the right side of your screen). Here you can change the orientation of the environment.
- Assign materials to objects: From the library panel on the left, drag your desired texture to the viewport. To adjust the textures, go to the materials tab in the editor panel.
- Assign materials to windows: Similar to how materials were assigned in step 4, assign glass to the windows in your design by selecting the windows and dragging the glass material to the selected area.
- Adjust lighting and finalize details: From the right side panel, adjust the gain parameter in the renderer tab. Experiment with different settings until you are satisfied with your rendering.
- Save your image: To save you design, click File, Save from the menu or click the disc icon from the toolbar.
FluidRay’s intuitive interface and straightforward menus make rendering fast and easy to learn.
Are you ready to learn rendering for your next design project? Our pricing is inexpensive and we offer a free trial so you can see for yourself how fast and easy it is to turn your 3D models into realistic images that will inspire your clients. To learn how to create beautiful renderings in FluidRay, we provide a library of training tutorials. Experience the good side of rendering today!


